Lighting & Staging Secrets: What Works for Utah Listings

Even in a busy market, the listings that look better get:
More clicks
More showings
Better first impressions in person
And the good news? You don’t need a full renovation or a designer stager to get there.
Two things move the needle fast:
Lighting (how bright and inviting the home feels)
Staging (how clear and livable the spaces look)
For Northern Utah & Southern Idaho, where we deal with four real seasons, mountain light, lots of similar floor plans, and plenty of basements, getting these two right makes a huge difference—especially in photos.
This guide is written for Realtors, but it’s also easy to send directly to your sellers before photo day. ✅
Why Lighting Matters So Much in Utah Homes
Utah light can be tricky:
Dark winter afternoons and overcast days
Harsh, direct sun at certain times
North-facing rooms that always feel a bit dim
Basements that need help to not look like caves
If a room feels a little dark in person, it will look much darker in photos.
Simple Lighting Rules for Sellers
Here’s what you can ask your sellers to do before photos and showings:
Turn on every light in the home
Overhead lights
Lamps
Under-cabinet lighting
Vanity lights in bathrooms
Replace burnt-out bulbs
Especially in main living areas, hallways, and bathrooms.
A half-lit fixture instantly looks tired.
Match bulb color temperature where possible
Aim for warm white (around 2700K–3000K).
Try not to mix super-cool/blue bulbs with warm yellow ones in the same room—it looks off in photos.
Open blinds and curtains
Let in as much natural light as possible.
Raise blinds fully if they cut across windows awkwardly.
Watch harsh light spots
If afternoon sun is blasting one window, it can blow out photos. Your media team (like DMD) will help adjust shades on site if needed.
One simple line you can use with sellers:
“If a room feels dim to you, it will look extra dim in photos, so we want every light on and every window helping us out.”
Staging Rule #1: Less Noise, More Space
Staging doesn’t mean a home has to look fake or empty.
It means making each room:
Easy to understand
Easy to move through
Easy for buyers to picture themselves in
In Utah, buyers care a lot about:
Open living spaces
Functional kitchens and dining areas
Basements and bonus rooms
Yards and outdoor living
You’re not aiming for a magazine shoot. You’re aiming for calm, clean, and livable.
The “Weekend Declutter” Method
Have your sellers go room by room with:
1 bin for “put away for good”
1 bin for “hide for photos/showings”
1 bag/box for donate or trash
Focus on:
Kitchen and bathroom counters
Entryway “drop zones”
Nightstands and dressers
Open shelves and mantels
Kids’ toy zones
Rule of thumb:
“If the first thing you notice is stuff—not the room—it’s time to pull it back.”
Room-by-Room Lighting & Staging Tips for Utah Listings
1. Entryway / Front Door
This is the first impression in person and often shows up in photos.
Lighting:
Turn on any entry lights or nearby lamps.
Make sure bulbs at the front door actually work.
Staging:
Limit hooks to a few coats or jackets (neutral if possible).
Hide extra shoes, backpacks, and sports gear.
Straighten or replace worn-out mats.
Think: “Welcoming, not crowded.”
2. Main Living Room / Great Room
This is your “fall in love with it” space.
Lighting:
All lights on.
Blinds and curtains open to show light and views.
Staging:
Fluff pillows, smooth throws, and straighten cushions.
Clear coffee table clutter—1–2 decor items max.
Remove visible cords as much as possible.
Tuck away toys, dog beds, and random baskets.
Try to create one main focal point:
fireplace, big window, or TV wall—not all three fighting for attention at once.
3. Kitchen & Dining Area
Buyers judge hard here, especially in Utah’s family-focused market.
Lighting:
Turn on all kitchen and dining lights.
Under-cabinet lighting on if you have it.
Open blinds if the view is decent.
Staging:
Clear most items off counters:
Keep 3–5 things max (coffee maker, fruit bowl, plant, simple tray, etc.).
Remove fridge magnets, kids’ art, calendars, and personal notes.
Wipe down appliances and cabinet fronts.
In the dining area:
Consider a simple centerpiece or runner.
Don’t overdo place settings—simple beats fussy.
Tell sellers:
“We want the kitchen to feel clean and usable, not busy or crowded.”
4. Bedrooms
Bedrooms should feel restful, not like storage units.
Lighting:
Use lamps on nightstands if possible.
Overhead lights on if the room is naturally dark.
Staging:
Use clean, neutral bedding if possible (solid or simple patterns).
Smooth comforters and blankets—wrinkles show.
Clear nightstands except for a lamp and maybe one small decor item.
Put laundry, extra pillows, and clutter in closets or bins.
Kids’ rooms can still have personality—just fewer toys on the floor and fewer posters everywhere.
5. Bathrooms
Tiny, but they show a lot about how “fresh” a home feels.
Lighting:
All vanity and overhead lights on.
Replace dim or flickering bulbs.
Staging:
Clear counters of personal items.
Keep only 1–2 things: soap, maybe a small plant or candle.
Close toilet lids.
Use clean, coordinated towels (not the old gym ones).
Hide plungers, toilet brushes, and trash cans if possible.
Aim for “hotel clean” instead of “everyday bathroom.”
6. Basements & Bonus Rooms (Very Utah!)
Utah basements can be a huge selling point—or a confusing jumble.
Lighting:
Turn on every light and lamp.
Open any egress windows fully to grab what natural light you can.
Staging:
Give each space a clear purpose:
TV room, game room, gym, guest room, office, etc.
Remove obvious storage piles from living areas.
Tidy cords and gaming systems near TVs.
Buyers should walk in and think:
“Oh, this would make a great [____] for us.”
Not:
“What is this room supposed to be?”
7. Exterior & Curb Appeal
We’re dealing with real seasons: snow, rain, mud, leaves, and blazing sun.
Lighting:
Turn on exterior lights if the shoot is near dusk.
Make sure porch and garage lights work.
Staging:
Sweep or hose walkways and porches.
Tidy or remove seasonal decor that’s past its prime.
Put away hoses, lawn tools, and random stuff.
Straighten outdoor chairs and cushions.
In winter: clear snow/ice from paths and driveways for both safety and photos.
You don’t need a perfect yard—just “well cared for.”
A Simple Pre-Photo Checklist You Can Send Sellers
Copy, paste, and brand this as your own:
The Day Before Photo Day:
✅ Clean kitchen & bathrooms
✅ Clear counters (kitchen & bath)
✅ Put away personal items (toothbrushes, razors, shampoos, meds)
✅ Turn on all lights before the photographer arrives
✅ Open blinds and curtains
✅ Hide trash cans, pet bowls, and litter boxes if possible
✅ Park cars away from the driveway/front of the house
✅ Do a quick walk-through and pick up any last-minute clutter
You can tell them:
“Don’t stress about being perfect—we’re aiming for bright, open, and inviting, not magazine-level flawless.”
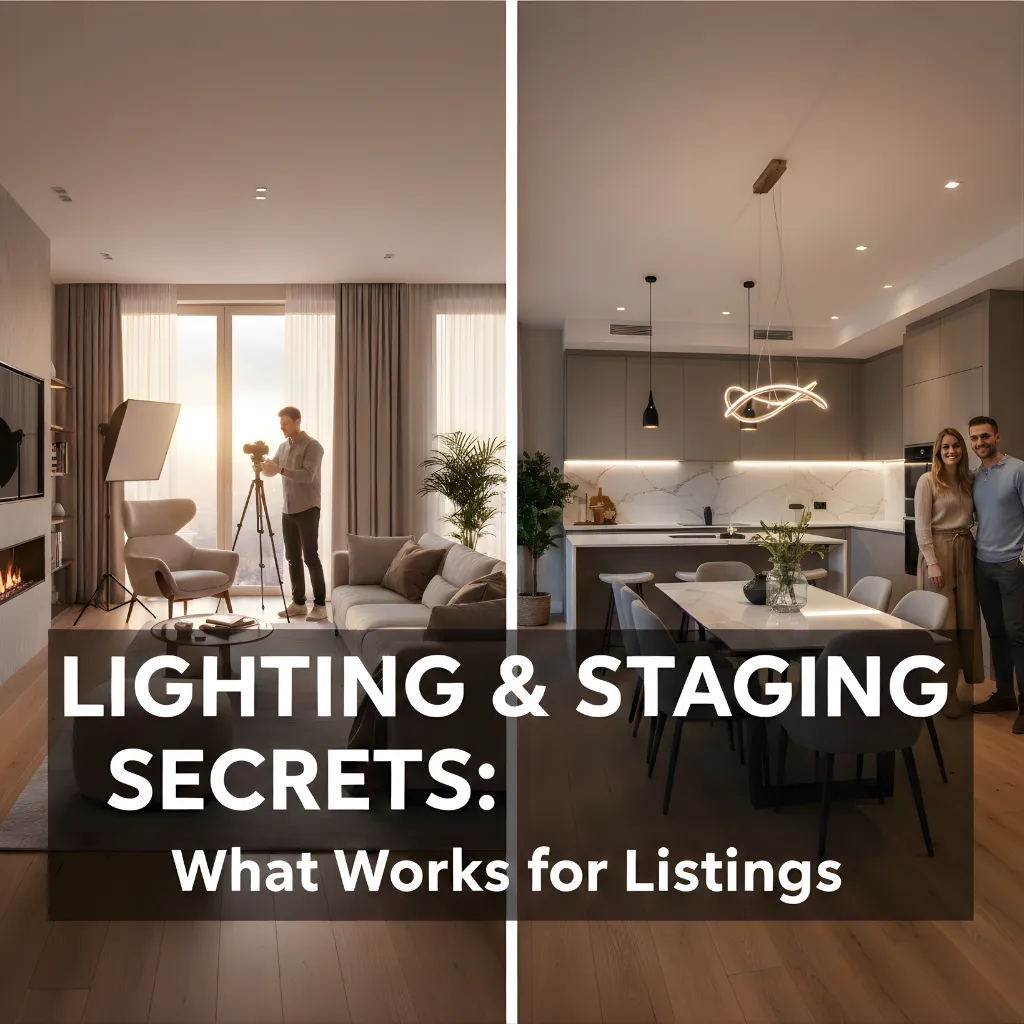
How DMD Real Estate Photography Utah Helps You Make the Most of All This
At DMD Real Estate Photography Utah, we know how much effort you and your sellers put in before photo day—and we’re there to make it pay off.
When we shoot your Utah listings, we:
Work with natural and interior light to keep spaces bright and welcoming
Adjust small things on site (tilt blinds, move a chair, straighten a rug, hide a trash can)
Choose angles that make sense and show off the best features
Listen to your requests:
“Please highlight the kitchen and great room.”
“Make sure we get good shots of the yard/garage/basement.”
“This view is the selling point—let’s show it off.”
We’re not just grabbing quick photos.
We’re helping you tell the story of the home in a way that makes buyers want to see it in person.
Final Thoughts: Small Tweaks, Big Impact
When you:
Coach your sellers on lighting and staging
Use a clear, simple prep checklist
Partner with a media team that understands Utah homes and light
…you set your listings up for:
Better photos
Better online impressions
Better in-person reactions
A stronger, more professional brand for you
All from changes that don’t require a massive budget—just thoughtful prep and good media.
Ready to Make Your Next Utah Listing Shine Online?
If you’re a Realtor in Northern Utah or Southern Idaho and you want a media partner who makes photo day easier and your listings look their best, we’d love to work with you.
➡️ Book Your Next Listing Shoot with DMD Real Estate Photography Utah
Let’s turn your next listing into something that not only shows well, but photographs beautifully too. 💡🏡✨
